
how to crochet a hat
How to Crochet a Hat
Crocheting a hat is not just an engaging craft; it’s a wonderful way to express your creativity while creating something warm and stylish for yourself or as a gift. Whether you’re a seasoned crocheter or just starting, following steps can take you from yarn to a completed hat in no time.
In this article, we’ll explore everything you need to know about how to crochet a hat, covering essential techniques, materials, and patterns. Along the way, you’ll find resources to enhance your skills so you can master this delightful craft.
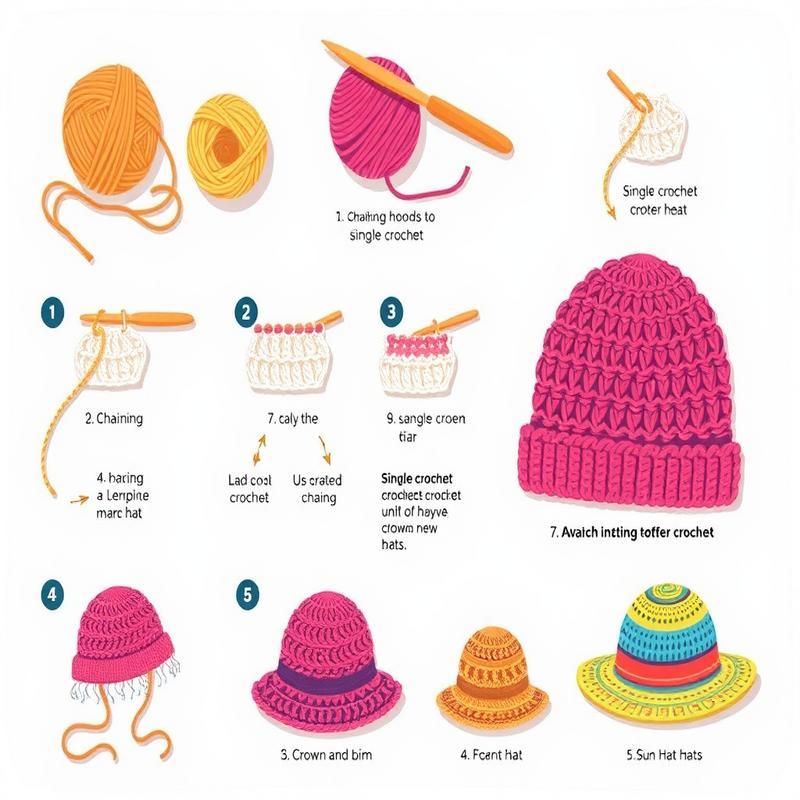
When embarking on your crocheting journey, understanding basic crochet stitches is vital. A solid grounding in stitches like single crochet, double crochet, and half-double crochet provides a foundation to create a variety of patterns. If you’re new to crocheting, you might want to begin by exploring this guide on the single crochet stitch, a fundamental technique every crocheter should know.
Gather Your Materials
Before you begin crocheting, it’s crucial to gather all necessary materials to prevent any interruptions in your creativity. The basic items you’ll need include:
- Yarn: Choose a yarn that you’re comfortable working with. The thickness of the yarn can affect the size and warmth of your hat.
- Crochet Hook: Select the right size hook according to your yarn choice. A larger hook may create a looser stitch, while a smaller hook will yield tighter fabric.
- Stitch Markers: These can help you keep track of rounds, especially if you’re working in the round.
Many crocheters enjoy using different yarn textures and patterns, so feel free to experiment with your choices. Make sure your yarn has a nice drape and is machine washable if you want the item to be easy to care for.
Choose Your Stitch
Once you’ve gathered your materials, the next step is selecting the right stitch for your hat. Many variations can be used to create different textures or styles. Here are some popular choices:
- Half-Double Crochet Stitch: This stitch is versatile and creates a lovely texture suitable for the body of the hat. Learn more about it here.
- Double Crochet Stitch: Often used for the brim, it creates a lovely, taller stitch that gives a stylish finish. Check out the instructions here.
- Single Crochet: This stitch produces a tight fabric and can be used to start your hat or create specific details.
Don’t be afraid to mix and match these stitches to create unique designs that express your style. Each stitch has a unique personality and creates different visual effects, so allow your creativity to flow!
Learn the Techniques
Now that you’re familiar with the materials and stitches, the next step is mastering a few essential crochet techniques. Techniques such as slip stitch, chain stitch, and increasing/decreasing stitches are crucial for progressing through your project. These techniques ensure your hat turns out seamlessly and perfectly fitted.
If you’re new to crocheting, the resource How to Crochet for Beginners by Lion Brand is a fantastic starting point. It covers all basic stitches and offers visual guidance to make your crocheting experience enjoyable.
Follow a Pattern
Patterns can simplify your crocheting process and yield beautiful results. Whether you’re a novice learning the ropes or an experienced crocheter, following established patterns can provide structure to your project. You can find countless free crochet patterns on websites like Premier Yarns. These patterns often come with charts and visual aids, making it easier to follow along.
Reading Patterns
Once you’ve chosen a pattern, understanding how to read it is essential for your success. Patterns typically use abbreviations and symbols that indicate specific stitches and techniques. Getting accustomed to these can elevate your crocheting ventures tremendously. For detailed guidance on this subject, refer to the Craft Yarn Council’s guide on how to read crochet patterns which unpacks various elements of crochet patterns and helps clarify any confusion.
Choosing a Style and Design
Now that you are familiar with basic techniques, it’s time to consider the style and design of your hat. There are various styles you could choose from, such as:
- Beanies: Classic and simple, these can be made in various sizes and styles to suit everyone in the family.
- Slouchy Hats: These provide a relaxed look and can be adorned with embellishments for a trendy vibe.
- Bobble Hats: Fun and whimsical, featuring bobbles for added interest and texture.
Explore various patterns online, take inspiration from others, and draw from personal style or preferences to create a design uniquely yours!
Yarn Selection
The choice of yarn significantly impacts the final look and feel of your hat. It’s essential to consider:
- Weight: Worsted weight yarn is a great option for beginners as it holds its shape well.
- Material: Acrylic yarn is affordable and easy to wash, while wool provides warmth but might require special care.
- Color and Texture: Explore different colors and textures. Yarn with varying textures adds a unique aspect to your designs.
Adding Personal Touches
After crocheting the main structure of the hat, consider ways to embellish it and make it your own. You can:
- Add pom-poms, flowers, or appliqués.
- Incorporate beads or decorative buttons for a touch of flair.
- Experiment with color changing techniques for a more dynamic look throughout the hat.
Personalizing your hat not only enhances its aesthetic appeal but also makes it more special!
Finishing Your Hat
Once you’ve completed the crochet work, it’s time to wrap up the project with finishing touches. To finish your hat neatly:
- Weave in the ends using a tapestry needle to give your hat a polished look.
- Block the hat (if necessary) to relax the stitches and ensure the proper shape.
- Check for any loose ends or missed stitches and fix them before wearing your hat.
Common Mistakes to Avoid
As you venture into crocheting a hat, be aware of common mistakes that can halt your progress:
- Not checking gauge: Always make a gauge swatch to ensure your hat fits properly.
- Skipping the slip knot: It’s essential for starting your project.
- Forgetting to count stitches: Keeping an accurate count is vital to maintain the shape of the project as it progresses.
Additional Insights
Crocheting can be a delightful form of self-expression and creativity that anyone can enjoy. Here are some additional tips:
- Join local or online crochet groups to seek advice and showcase your work.
- Challenge yourself with more intricate patterns as your skills improve.
- Share your finished projects on social media to inspire others and receive encouragement!
Conclusion
Crocheting a hat is a fulfilling and enjoyable endeavor that can offer warmth and style to anyone’s wardrobe.
By gathering the right materials, choosing suitable stitches and patterns, and personalizing your creation, you can craft a beautiful piece to cherish.
Whether as a gift or a personal project, the joy of crocheting is unparalleled. So grab your yarn and hook, and start creating your masterpiece today.
If you’re looking for more inspiration and projects, consider exploring options on basic crochet stitches for beginners or take on another fun project like learning to crochet a heart! Happy crocheting!
FAQ
1. What materials do I need to crochet a hat?
You’ll need yarn, a crochet hook, and possibly stitch markers. Additionally, a pair of scissors and a tapestry needle will be useful for weaving in ends.
2. How long does it take to crochet a hat?
The time it takes to crochet a hat varies depending on the pattern and your skill level, but typically it can range from 2 to 5 hours.
3. What size crochet hook should I use for a hat?
The size of the crochet hook depends on the yarn weight you’re using. Check the yarn label for recommended hook sizes.
4. Can I use different stitches in my hat?
Absolutely! Combining different stitches can add interesting textures and designs to your hat.
5. Do I need to block my finished hat?
Blocking is not essential but can help your hat maintain its shape and relax any tension in the stitches.
Feel free to share your crocheting journey or any questions in the comments below!


